Advanced Tutorial: SAE Reports
This tutorial shows how to test automotive lighting systems against SAE standards in Photopia for Rhino.
Skill Level
Advanced
Downloads
SAE J587 License Plate
SAE J587 License Plate Custom Report Template (right click and choose Save Link As)
SAE J587 License Plate Custom Report Icon (right click and choose Save Link As)
SAE J587 License Plate Starting Rhino 3DM File
SAE J598 Backup - Reversing
SAE J598 Backup - Reversing Custom Report Template (right click and choose Save Link As)
SAE J598 Backup - Reversing Custom Report Icon (right click and choose Save Link As)
SAE J598 Backup - Reversing Starting Rhino 3DM File
SAE J2261 Front Turn Yellow
SAE J2261 Front Turn Yellow Custom Report Template (right click and choose Save Link As)
SAE J2261 Front Turn Yellow Custom Report Icon (right click and choose Save Link As)
SAE J2261 Front Turn Yellow Starting Rhino 3DM File
SAE J2261 Rear Turn Yellow
SAE J2261 Rear Turn Yellow Custom Report Template (right click and choose Save Link As)
SAE J2261 Rear Turn Yellow Custom Report Icon (right click and choose Save Link As)
SAE J2261 Rear Turn Yellow Starting Rhino 3DM File
SAE J2261 Rear Turn Red - Stop
SAE J2261 Rear Turn Red - Stop Custom Report Template (right click and choose Save Link As)
SAE J2261 Rear Turn Red - Stop Custom Report Icon (right click and choose Save Link As)

1. Download and Install Custom Reports
Download the XML and PNG files linked above.
Place them in the following folder: C:\ProgramData\LTI Optics\Reports\CustomStyle\
This folder may be hidden by default, so the easiest way to get there is to copy that address and paste in into a Windows File Explorer address bar.

2. Open the Project File
Download the 3DM Rhino file linked above.
Open this 3DM file in Rhino.
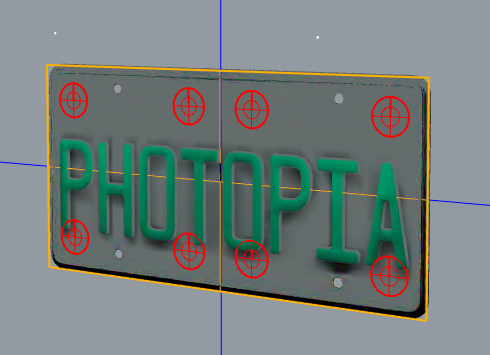
This project contains two lambertian LEDs illuminating the license plate area or a single LED with a sample reflector illuminating a target wall.
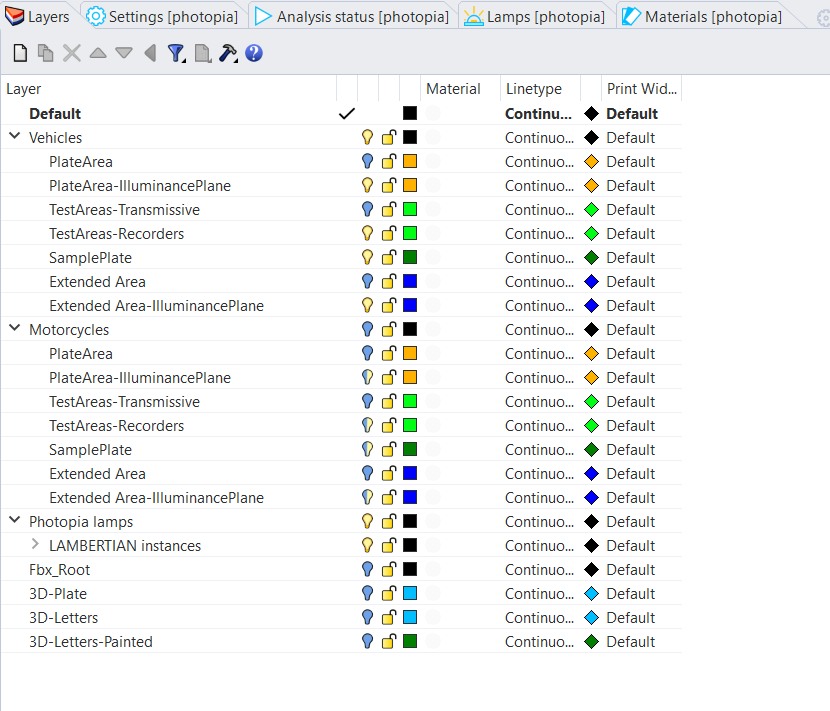
For the license plate, there are two layer groups, one for Vehicles and one for Motorcyles. Each layer group contains all require test points and illuminance planes.
Only run the raytrace with one of the two groups active at a time (Vehicles or Motorcycles).

3. Update with your illumination sources
To test your light source, turn off or delete the Lambertian lamps and place your light source and optics into the template project.

4. Run Raytrace and Open Results
Run the raytrace .
In the Reports panel click on the button to open the Results in a new window.
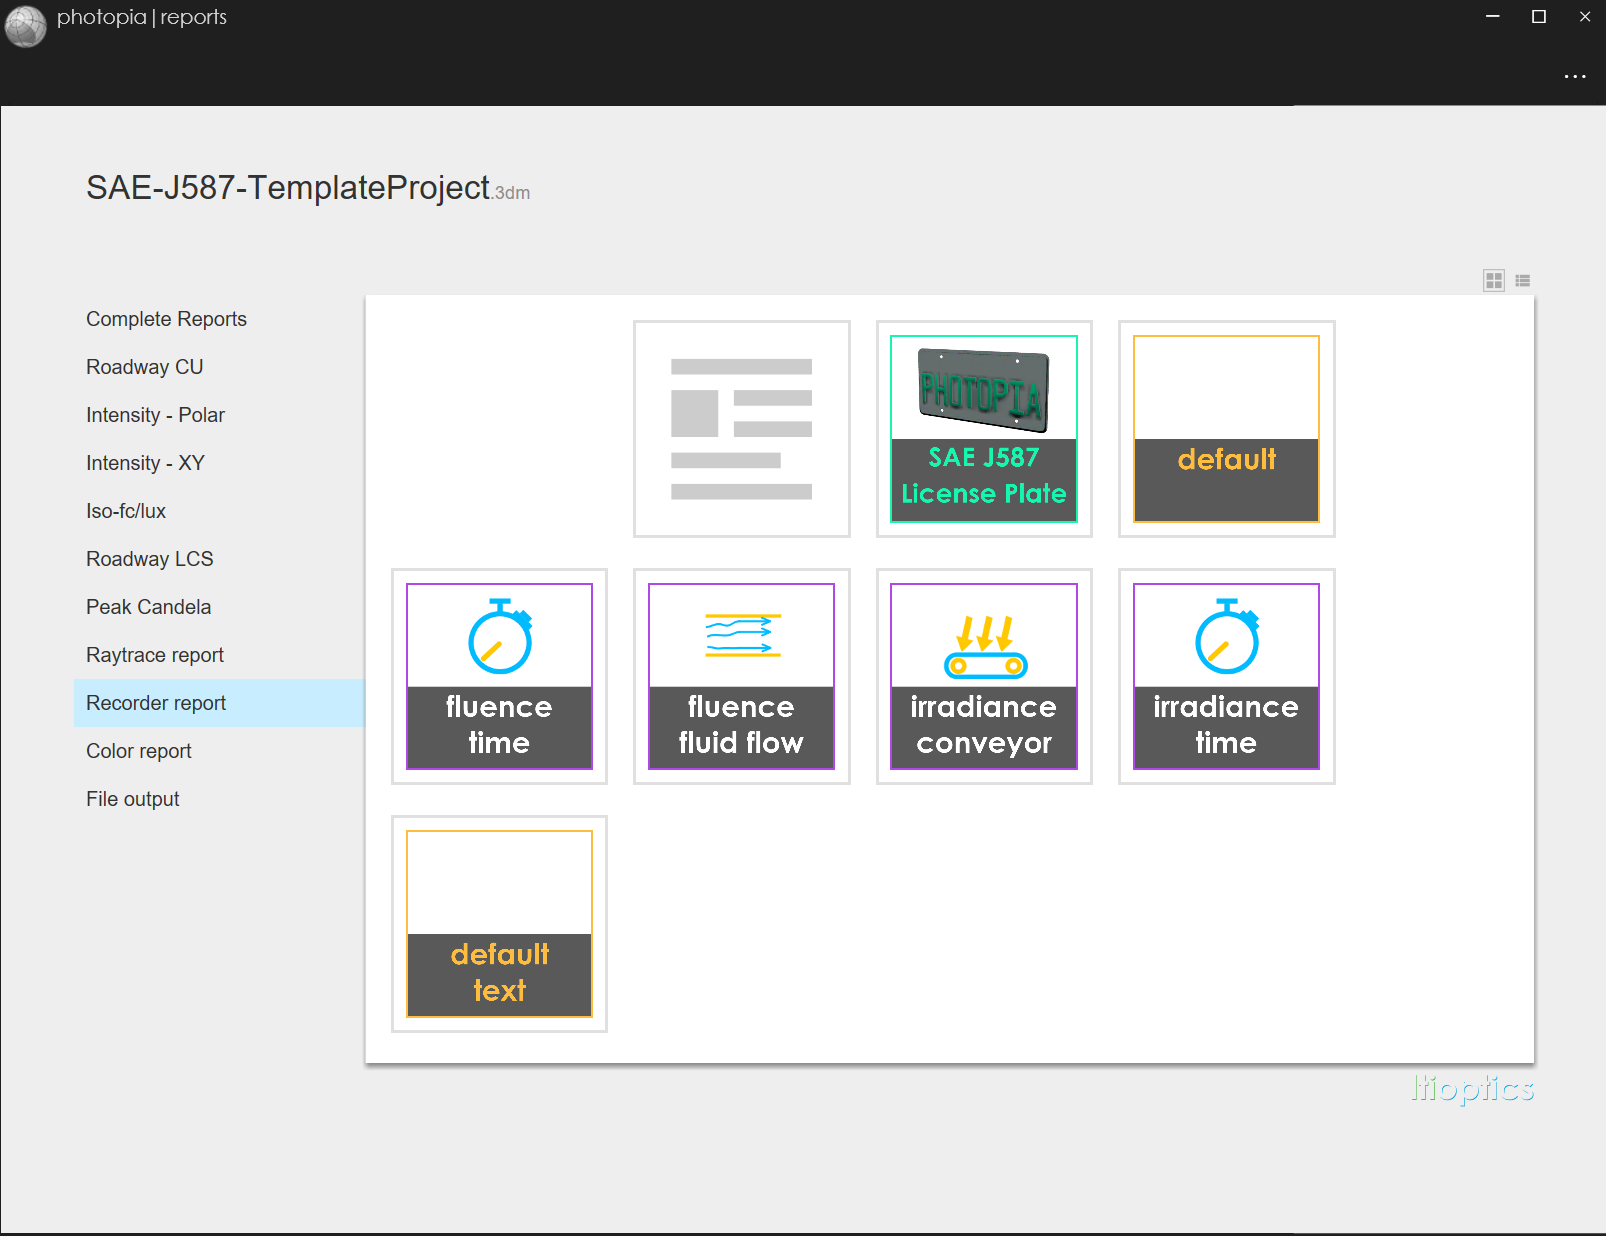
In Photopia Reports, choose Recorder Reports and select the J587 License Plate Report, or choose Photometric Reports and choose the appropriate report.

5. Evaluate Results and Scale Output
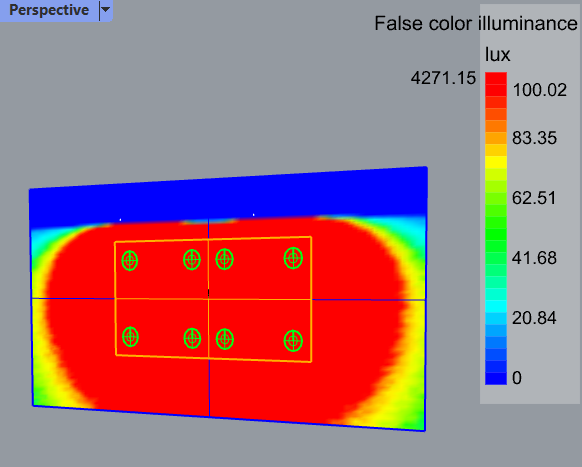
The recorder report will show the test points on the license plate, for either the Vehicle or Motorcycle depending on the active layers in the model.
The report shows if these points pass the minimum luminance as well as the max to min uniformity ratio.
You can also see the total input lumens (from the lamps), the lumens hitting the license plate, and the target efficiency.
If you want to adjust the lumens without re-running the raytrace, you can use the Scale Factor at the top of the report to make adjustments to test compliance.
